Simple Outbuilding Assembling Blueprints 8 x 8 : 4 Remarkable Tips For Constructing A Shed Cheaply

A galvanized or plastic coated cable or strap long enough to go over shed from one anchor to another. Remember the best building in the world is only as good as the foundation it is sitting on. Set up a reciprocating saw with a timber cutting blade. If you would prefer to stain your shed, be sure to buy unprimed plywood siding. Gravel pads are useful if you are parking heavy equipment inside your shed or garage. Also create another pencil line an inch in from the door (https://shedconstructionplans.com/12x12-saltbox-shed-plans-blueprints) line, all way around. Another similar product has a bracket welded to the top for attaching the outbuilding foundation directly to it.
After building frame of the shed, you need to make it waterproof by installing rafters and roofing sheets. Forming a nice corner with no frame being shown. The extra two inches of vertical distance when a floor is framed with 2 x 10 studs rather than 2 x 12s can be quite important, for example. To begin, build a pattern rafter from the best 2 x 4 on hand. We were so impressed with the school's program that we donated this shed to cause. Always plan every step of the project, in order to keep everything under control and to prevent mistakes.
Keep moving forward and trust the directions. The other common case is cathedral or (find more info) vaulted ceiling. A correctly made foundation will protect your shed and its contents, and any warranty your shed may have. If you want to save a significant amount of money, which you could invest in quality materials, you should follow our step by step instructions and build the roof of your shed by yourself. It's hard to say exactly how much it would cost you to build this shed. The bar door attaches to the inside of the shed with hinges and swings up to open.
The distance that one may cantilever a floor joist depends on width of the roof parallel to the cantilevered joists, the floor joist depth and spacing, and the design snow load. Here is vented side of shed and it's trim. Generally, leaving about 2' of post above the grade is sufficient, except for intensely slopped landscaping. If you're planning to make your shed on an elevated base or foundation, it can still be well secured against wind forces. This step by step DIY project is about generator outbuilding blueprints. The boxed pad, or retaining wall pad, can be used on flat ground or to set up a level base on uneven terrain.
Take care not to nail through the overlap of two pieces. Instead of sticking up, the trusses would sit within the foundation walls, but setting them is similar and must still adhere to manufacturer's specs. There are a lot of materials to trim and hoist, though, so you'll want to round up a few helpers. Because of the design of the doors, top and bottom reinforcement points are very close to the top and bottom of door. These measurements should be same to ensure a square building. If you live in a cold-weather region, you might be required to dig down to the frost line and pour concrete footings or piers.
Start by nailing soffit boards to underside of the rafters. Use fasteners and hardware labeled for treated lumber when assembling the foundation and attaching the outbuilding floor frame. It's easy for the beginner to put together. For example, if current beams are made of 2-by-10-inch material, buy 2-by-10 lumber rather than downsizing to 2-by-8 or less. The same thickness as the rim joist to speed up the process of floor framing. Gravel is a naturally eroded material and crushed stone is just that, mechanically crushed stone or rock. The roots could grow underneath the shed and lift foundation right off ground.
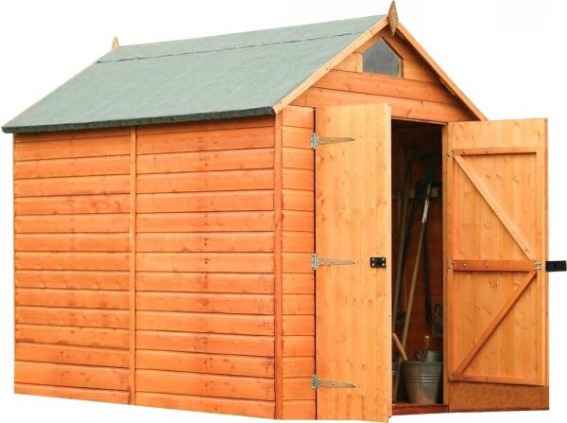
You have double doors to the front, so you could have a wide access. You can build your own shed trusses by using a standard jig. Adding long diagonal braces to side. It's one of my favorite pallet projects thus far. You often see doors placed on gable end of building, which looks nice, but makes it virtually impossible to reach items stored at rear of shed. The top doorjamb should rest against wide trim board. The same could be said of gambrel style roof. The first sheet along a wall is one that matters for this step, because then you can mount the remaining by sliding them up to previous sheet and nail those sheets in.